
How should pressure washing pressure be selected for a water tank?
Select pressure washing pressure for a water tank by balancing the tank’s construction, internal coatings, fittings and condition against the level of soiling to be removed. Use the lowest pressure that achieves effective cleaning, within the tank and equipment manufacturer’s limits, and confirm the setting through a controlled test before proceeding.
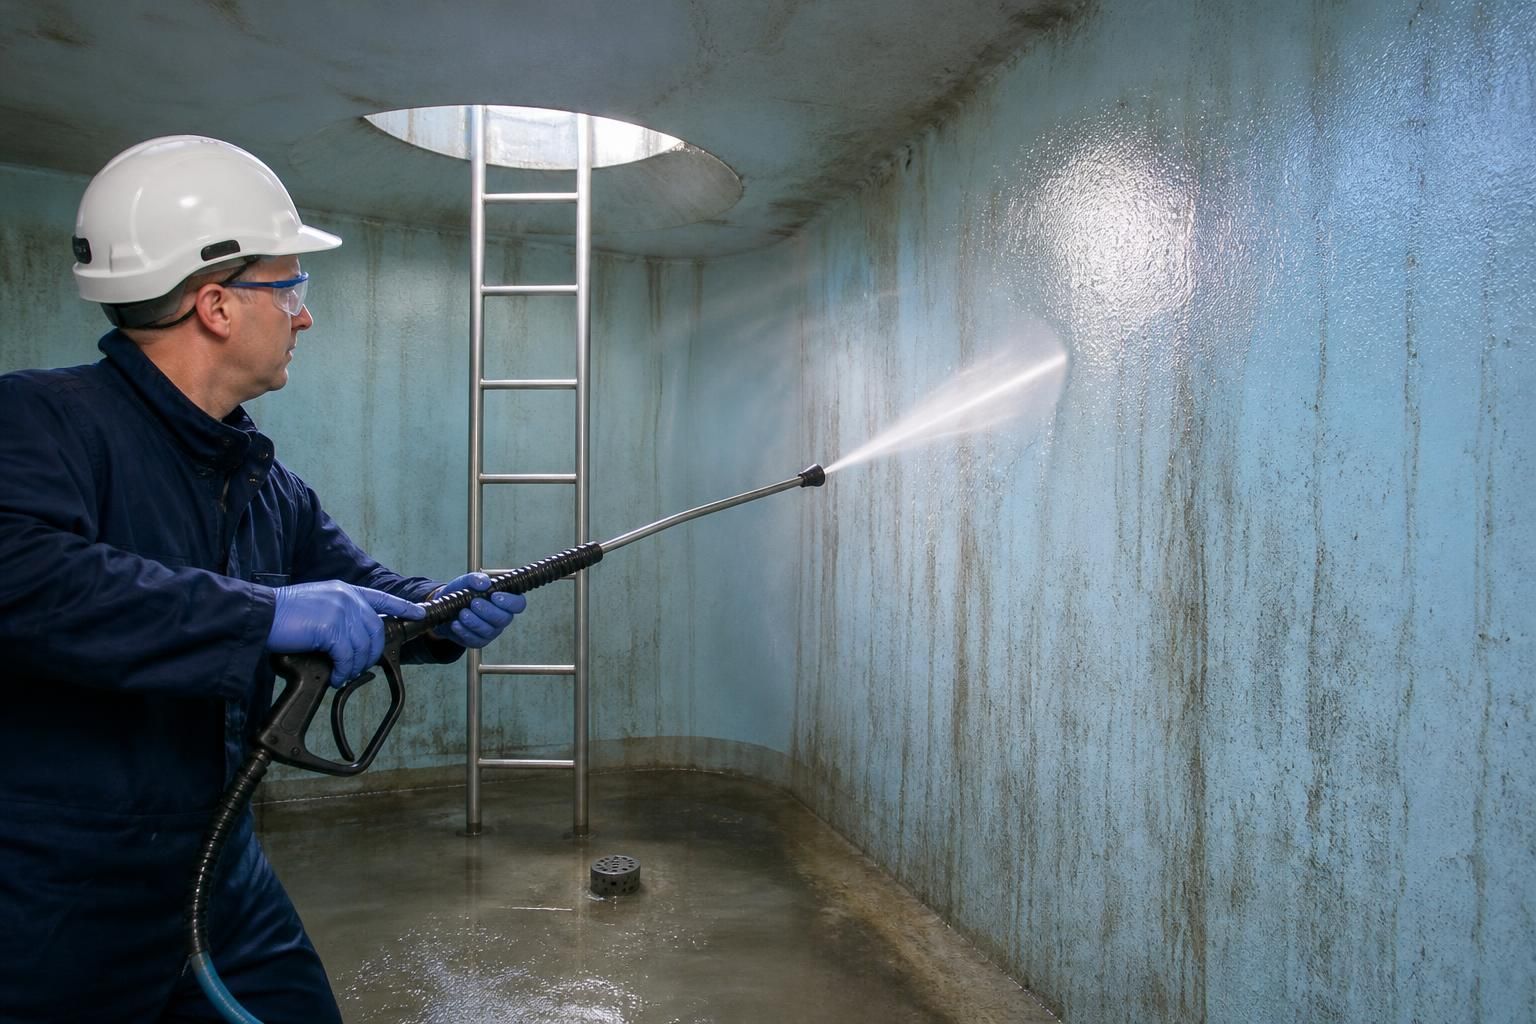
Pressure selection for water tank cleaning is a controlled engineering decision: the water jet must remove deposits without damaging the tank structure, lining, fittings or associated pipework. The setting should therefore be determined from the tank specification, the condition of the surfaces and the type of contamination, rather than by using a standard pressure for every installation.
Start with the tank construction. Identify whether the tank is made from glass-reinforced plastic, steel, concrete or another material, and establish whether it has an internal coating, membrane or protective lining. Coatings can be more vulnerable than the underlying tank, particularly where they are aged, blistered, cracked or already detached. Details should also be checked for covers, access hatches, seals, level sensors, float valves, inlet assemblies, outlets and other components that could be displaced or damaged by a concentrated jet.
The tank manufacturer’s cleaning instructions and pressure limits should take priority. If those details are unavailable, the tank should be treated conservatively until its construction and condition have been assessed by a suitably competent person. A pressure washer may be capable of producing a much higher pressure than the tank or its lining can tolerate; the maximum available setting is not an appropriate default.
Assess the deposit before choosing the setting. Light sediment, loose scale and surface dust may be removed with a relatively gentle wash, whereas firmly attached scale, biofilm or accumulated deposits may require more controlled agitation. However, increasing pressure is not always the best response to stubborn contamination. A suitable nozzle, increased dwell time, manual brushing, scraping with a tank-safe tool or a cleaning method compatible with the tank material may achieve better results with less risk.
Consider the following variables together:
- Surface condition: pitting, corrosion, crazing, exposed reinforcement, loose coating and existing cracks call for a more cautious approach.
- Jet concentration: a narrow jet applies more force to a small area than a wider fan pattern at the same machine pressure.
- Nozzle distance: bringing the lance closer increases the force at the surface, while working farther away generally spreads the impact.
- Flow and temperature: these affect cleaning performance and may create additional risks for coatings, seals, fittings or the tank material.
- Access and operator position: restricted access can make it difficult to maintain a consistent distance or keep the jet away from vulnerable components.
Machine pressure is normally stated at the equipment or pump, while the force reaching the tank surface is affected by the nozzle, hose, distance and angle. For this reason, a pressure reading alone does not describe the actual impact on the tank. The operator should use a suitable nozzle and maintain a consistent working distance rather than relying solely on the figure shown on the washer.
Use a controlled test area. Before cleaning the whole tank, select an inconspicuous section representing the least robust or most heavily coated surface. Begin with a broad spray and a conservative setting, keeping the lance at a controlled distance and angle. Inspect the test area for coating softening, colour change, fibre exposure, scoring, gouging, distortion, leakage or movement of fittings. If the deposit is removed without adverse effects, the method can be extended progressively. If damage appears, stop and revise the method rather than increasing pressure.
The test should also confirm that loosened material can be directed towards the drain or removed without being redistributed across cleaned surfaces. A jet that removes deposits but spreads contamination around the tank may be unsuitable for the overall task. Avoid directing high-force water at seals, inspection covers, sensors, float mechanisms, vents, pipe connections and outlets unless the equipment instructions specifically permit it.
Adjust one variable at a time. If the initial result is inadequate, first consider changing the nozzle pattern, working distance, angle, movement speed or mechanical cleaning method. Only then should pressure be increased, and any increase should be gradual and followed by another inspection. This makes it easier to identify which part of the method is responsible for cleaning improvement or surface damage.
Pressure should be reduced when the operator encounters a fragile lining, exposed substrate, corrosion, a damaged fitting or an area that cannot be observed clearly. The same caution applies near joints and penetrations, where water impact may worsen an existing defect or force contamination into an inaccessible void. A tank should not be pressure washed simply to compensate for poor access, unsuitable equipment or inadequate preparation.
After the selected method has been applied, inspect the full tank for remaining deposits and signs of damage. Check that coatings remain intact, fittings are secure and no water has entered areas where it could affect controls or electrical components. The final cleaning method, equipment setting, nozzle arrangement, test result, observations and any limitations should be recorded with the tank’s condition before and after the work. These records support the wider water hygiene file and provide evidence that the pressure was selected and applied deliberately rather than arbitrarily.
Where the tank material, lining or contamination is uncertain, pressure selection should be referred to a competent water hygiene or tank-cleaning professional. The appropriate outcome is not the highest practical pressure, but a repeatable cleaning method that achieves the required hygiene result while preserving the tank and its components.
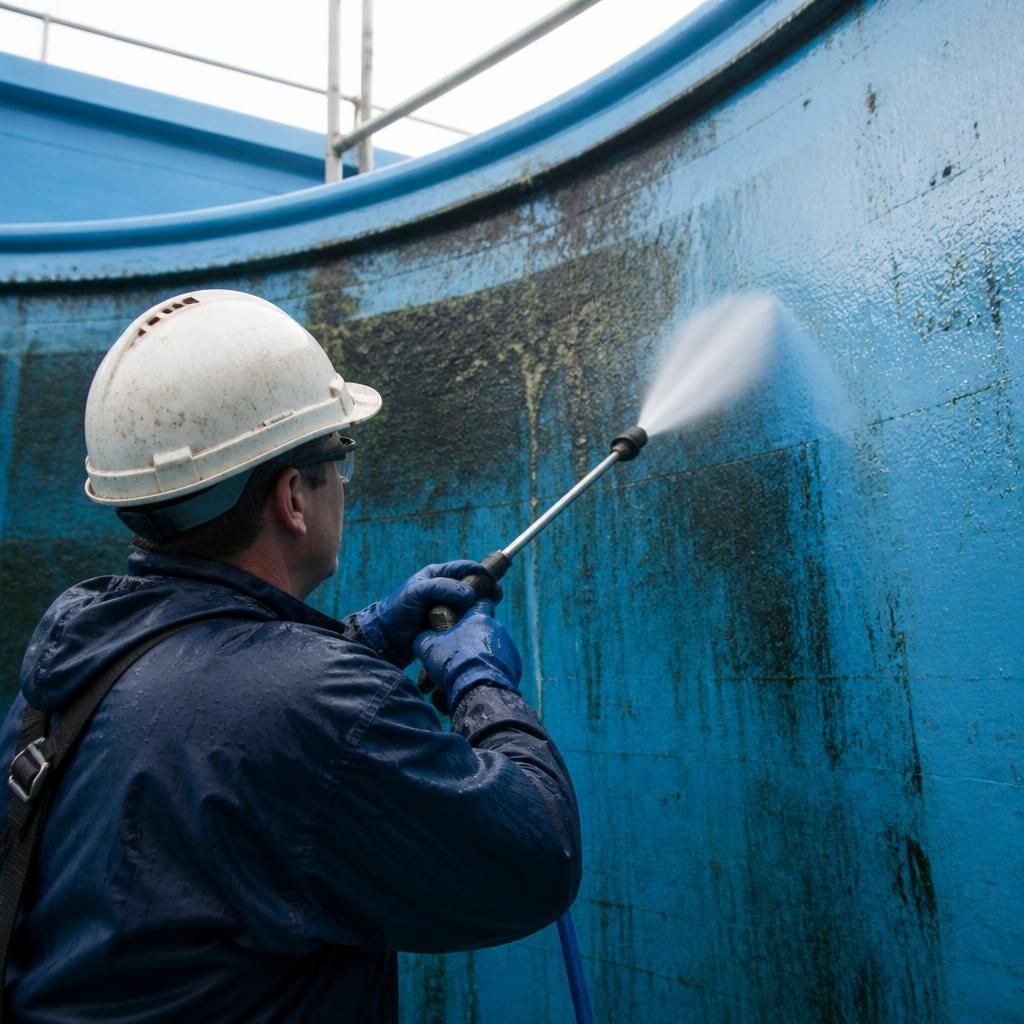
Pressure does not need to remain constant throughout the cleaning process. A tank may require a carefully controlled setting to loosen deposits, followed by a lower-impact rinse to carry residue towards the drain. Treating these as separate stages can reduce unnecessary loading on the tank and its fittings.
The selected setting should therefore be linked to the task being performed. Use only enough force for the current stage, pause when the surface is clean, and avoid continuing to spray areas that no longer contain deposits. This approach helps prevent damage caused by prolonged exposure rather than by a single pressure setting alone.
Discuss the right pressure washing approach for your water tank
Before pressure washing, discuss the tank’s construction, condition and proposed cleaning method with Blue Fish Water Management Ltd. Their water hygiene specialists can advise on suitable controls and whether a further assessment is needed.